Posted 26.03.2021
By Annabel Thomas
We know that Google Analytics can seem like an overwhelming platform. There is so much data available and it can be hard to know where to start. In case you are wondering, Google Analytics is a powerful marketing tool that is completely free to use and gives you access to a comprehensive set of data about your website and PPC advertising performance. The information you gather from Google Analytics will allow you to make data-driven decisions and enact real changes and optimisations to your website and campaigns. You can track over 200 metrics that span across the whole marketing funnel from acquisition to conversions. When it comes to viewing your metrics, Google records two types of data:
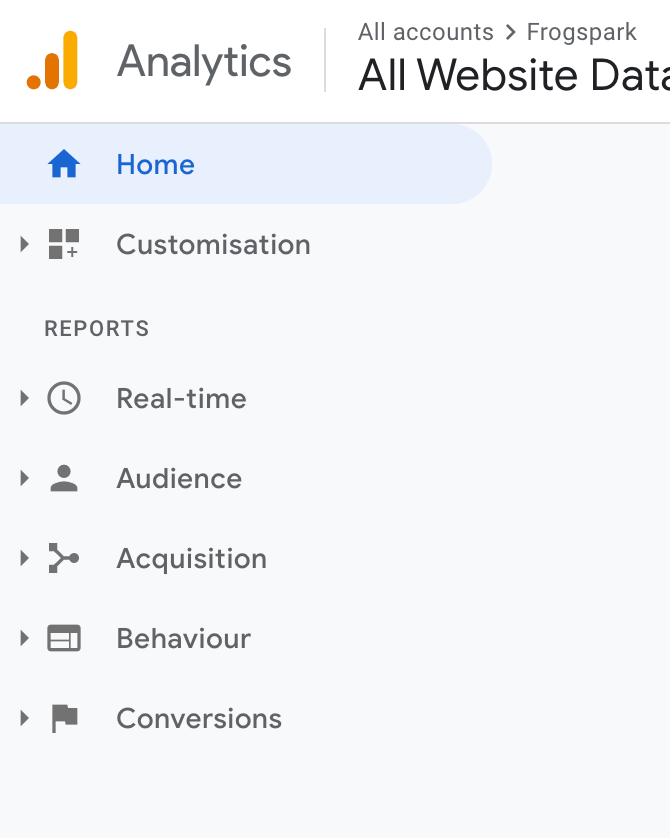
In this blog post, we are going to take a look at the data we think is the most important for you to understand. The Google analytics dashboard is broken down into four main categories:
Understanding who is visiting your website plays a large role in creating and optimising marketing campaigns. The most important things to track when it comes to your audience are age, gender, location and device. It is important to note that the DoubleClick cookie needs to be present on a user’s browser for Google Analytics to collect demographic information. Therefore the number of male and female users will not always equate to the total number of users.
The acquisition section of analytics allows you to see which sources your website traffic is coming from whether that be paid social, organic or direct. The metrics within this section of Google Analytics that we think are the most important are:
Finding out how your users navigate your website is extremely informative for you and will give you a deeper understanding of user intent, what is working well and what requires improvement. These are the metrics you should keep an eye on:
Conversions are the ultimate goal and final part of your marketing funnel. Whether they involve an enquiry or sale, tracking them is extremely important. So which conversion metrics should you monitor?
We hope this post has given you some insight into how to use Google Analytics and the takeaway information you can gain from it! If you need any help with your digital marketing, website and using Google Analytics, then get in touch with us today.
Need help with your web design or digital marketing?
Talk to an expert today or call us on 01332 493766
 Part of The Digital Maze Group